Okay, I know I've posted a few Christmas cards here and there over the last few weeks, but now I'm reeeeally going to start digging into my Christmas stamps and projects. I am so friggin' excited about so many of my new stamps that I am hard-pressed to find time to create all of the ideas I have for them! (I guess that's a good problem to have though, eh?)
Ellen Hutson released these stamp sets a few months ago, and while I bought them the day they came out, this is my first project with them. (Definitely won't be my last!) I used the combination of Mondo Poinsettia and Mistletoe&Holly to create this card. I stamped them all around the edge of my Strathmore watercolor card stock, leaving an empty spot off to the right for my sentiment, then heat embossed them in Princess Gold embossing powder. Then came the most fun part: coloring! Yay. :)

For the majority of this card, I used Distress Inks that I tapped onto a clear block for my watercolors. I wanted the colors to be a bit more muted than my Zig markers allow, so I tapped the ink pads onto the clear block, then diluted the color with water. The color is still very vibrant, but not quite a vibrant as if I had colored directly on the paper. (I might be wrong, but that's my story and I'm sticking to it!) After the initial color had dried, I went back in and added some shading, first with Distress Inks to the center of the poinsettia petals, then with my Zig markers to add some veins. Distress markers are fantastic, but you can't beat the tiny little brush tip on the Zig markers when it comes to detail work like this. I went in with the Distress color Old Paper that had been diluted down to add the color to the background, going back in and adding color to some spots occasionally to create that fun mottled watercolor look.
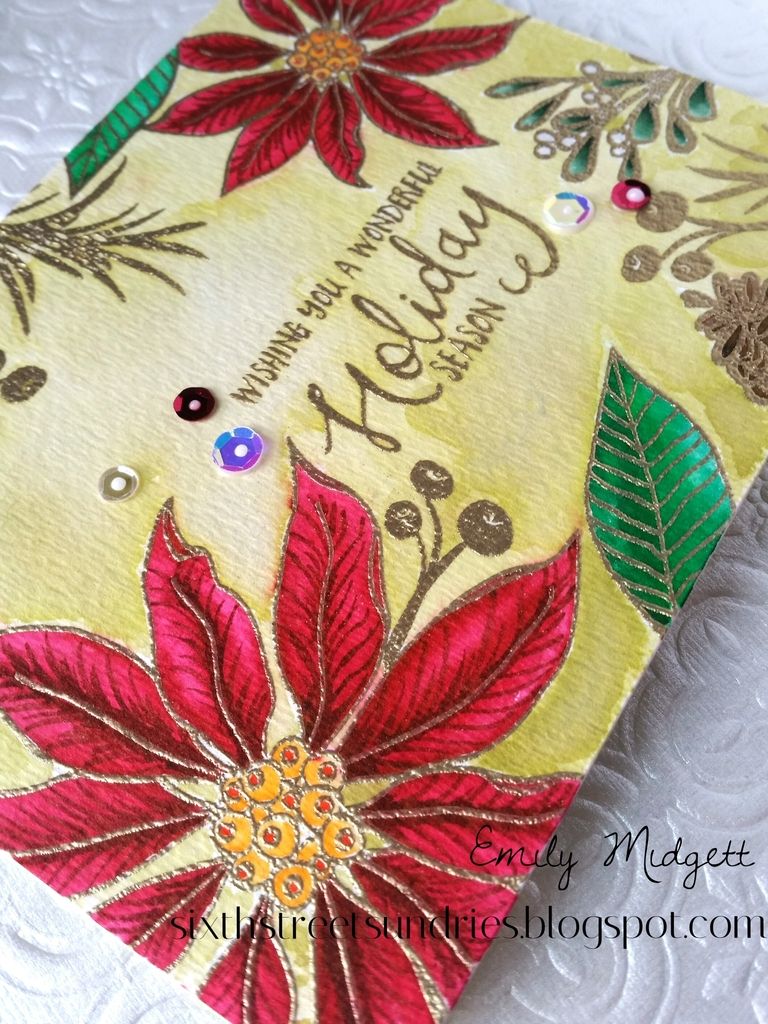
After I was finished watercoloring, I allowed it to dry, during which time the panel curled up. I usually try to tape my full-panel watercolor projects down to a flat surface to avoid this happening, but I didn't want the line around the edge. My solution was to put it under the seventh Harry Potter book overnight. (Isn't that what everybody uses Harry Potter books for?) In the morning, I adhered it to a Spring Moss (from PTI) card base and added a few sequins. They were from the Winnie and Walter birthday mix that I received in an order from earlier this year. I have yet to find a suitable truly iridescent sequins, so I've been hoarding these, but they added just the perfect amount of sparkle to this card.
I hope you enjoyed this! Have a fabulous weekend, friends!
I love your card! Thank you for such an excellent description of how you made it
ReplyDeleteThank you! I hope my rambling was helpful! :)
Deletelovely Emily! Your card is inspiring! TFS!
ReplyDeleteThanks so much for the kind words! :)
Delete