Ever since I bought my daughter an adorable dress from Old Navy with a fuschia, apricot, and lavender color scheme, I have had the combo in my head. I decided to run with it, as you've seen from some earlier posts, but this one is probably my favorite.
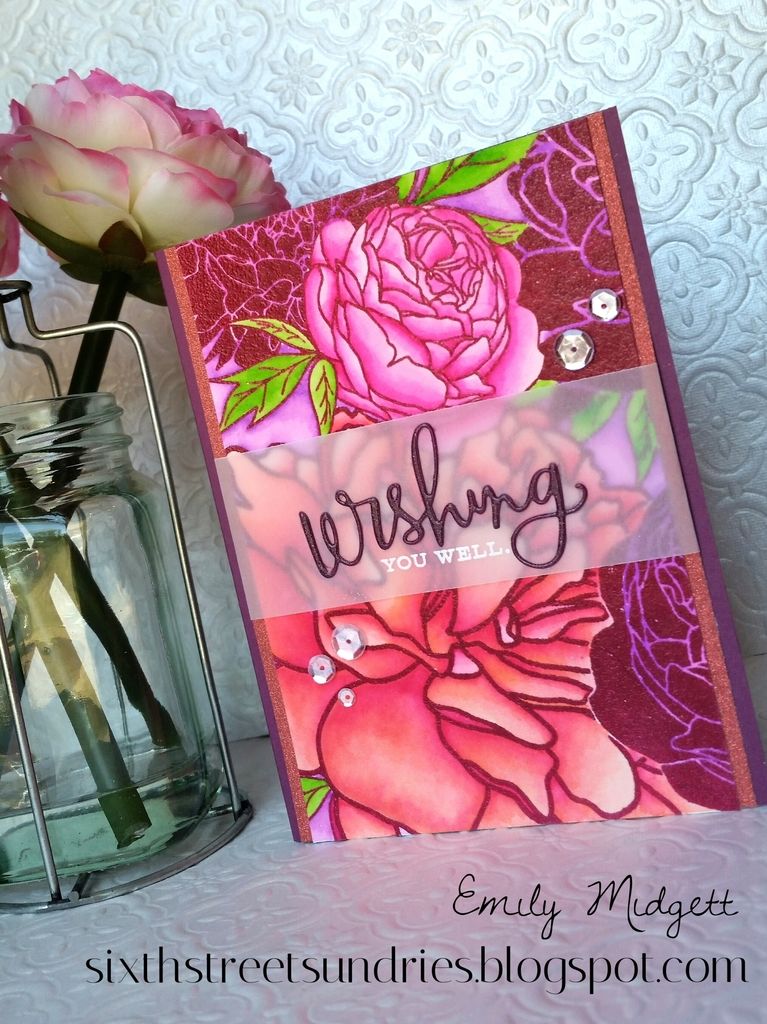
I used The Ton's Peony Background stamp to create this one, and I am definitely in love with it. I have previously used black Archival Ink and gold embossing powder to stamp the background on Strathmore hot press watercolor paper and then color it in. My daughter's extremely inspirational dress used dark raspberry-colored outlines for the flowers, and it created a more subtle, yet still bold looking pattern. I used Raspberry Jam ink from Hero Arts, covered it with Versamark, then covered it with clear embossing powder in order to prevent bleeding when I began my watercoloring. (I was able to do all of this with the help of my handy-dandy MISTI. Love that thing.)
Finally, it was time to get to work watercoloring. I used a combination of Peach Pink and Sugared Almond Pink Zig markers to create the large peachy peony on the bottom, while using just the Sugared Almond Pink for the top peony. I always concentrate the marker towards the "center" of the flower, where the petals grow out from the middle of the flower, leaving the ends white, then push the color out with my paintbrush and water. This creates some highlights and some shadows without a ton of forethought on my part (ain't nobody got time for that! haha...) After it's dry, sometimes I do go back in and add some more color to areas that I think would have darker shading or shadows. Luckily for me and my fairly inept, uneducated watercoloring skills, peonies are very forgiving, because they have so many natural variations in color. The larger solid flowers look even more realistic and appropriate to the pattern when stamped in a more natural color than gold or black. After coloring the main flowers in, I colored the background and lines between the petals of the solid flowers in with the English Lavender Zig marker.
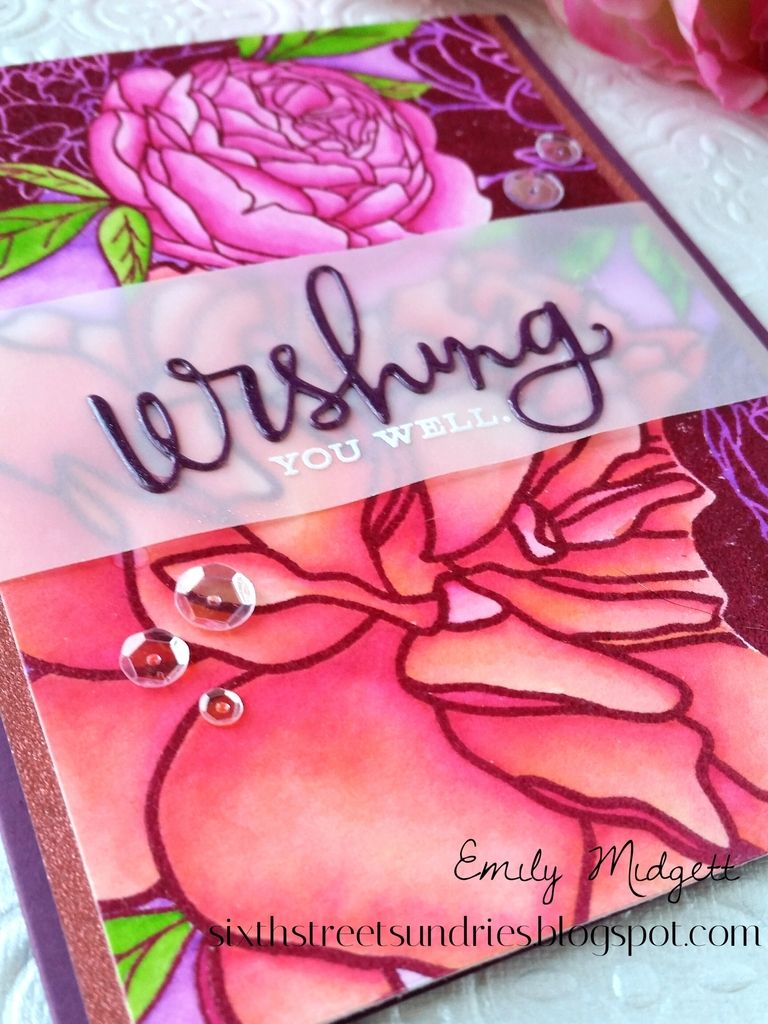
After doing all of that work stamping, heat embossing, and coloring, I was finding it difficult covering up any of it with a solid panel of cardstock with a sentiment, so I trimmed the panel down, added a vellum strip and die cut sentiment, then mounted it on a coral glitter mat from DCWV. I mounted the whole thing on a MFT Pure Plum card base and added a few sequins from Pretty Pink Posh. As an afterthought, I dabbed some Glossy Accents on that "wishing" die cut to add a little bit more dimension to this otherwise-flat card.
I hope you enjoyed this card as much as I enjoyed creating it! You would think that, as much as I love coloring flowers, I'd be more interested in growing them in real life.... But I think I'll just stick to coloring them. I'm linking this up to The Ton's WCMD blog hop. Love seeing all of the inspiration over there!
So very beautiful! Donna
ReplyDeleteAbsolutely stunning!!!
ReplyDeleteWow!!I love your coloring! That's so beautiful!
ReplyDeleteI never get bored with seeing what you make with this stamp. Like you, when I have a stamp that I love, I use it 'til it wears out!!!! Your peony obsession is good with me!
ReplyDelete